We all know how important it has become to have a soft copy of our crucial documents. These documents can be needed anywhere and everywhere, which is why we always think about having them handy. One of the main places where we like to store them is either our email or phone.
However, what we usually forget about is the lack of security on these devices. Our email address and mobile devices can easily be hacked. It means anyone within a matter of minutes can access our critical documents and leave us more vulnerable to misuse.
This is one of the main reasons why people are now looking for a secure platform to upload their documents. One such initiative is the DigiLocker application created by the government of our country.
Read the rest of the post to know more about DigiLocker and its use. We will even discuss in detail how to upload documents in DigiLocker.
What is DigiLocker?
The use of cloud-based technology has been emerging as the latest trend in the IT industry. The same has been followed in India since the very beginning. One of the current usages of the cloud-based technology can be seen in DigiLocker.
DigiLocker is an application which has been created by the Indian government to assist its citizens. The app allows you to share, store, and verify critical documents, which should not be left unattended. In other words, DigiLocker is the safest way to transfer your paperwork online.
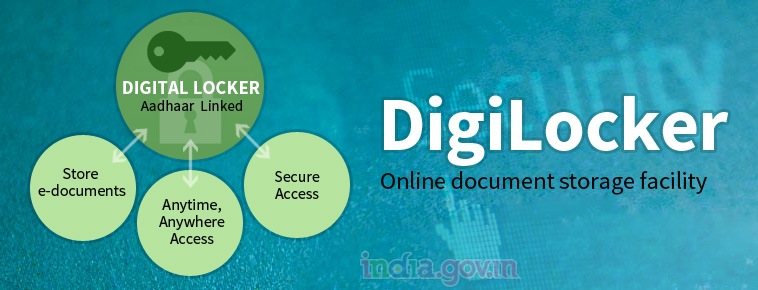
The agenda behind the creation of DigiLocker is to provide the facility of a paperless transaction. It is a movement which has been created to promote digital endeavours as well as eco-friendliness. It encourages people to adapt to new technology and save our nature by using less paper.
Besides, the DigiLocker application also gives you the guarantee of being totally secure. This means that anyone cannot hack it, and all the documents that you upload on DigiLocker will always be encrypted. On the other hand, it will even save you from the pain of Aadhar download by name every time.
How to Upload Documents on DigiLocker?
DigiLocker mobile application was not introduced quite long back. That is why people are still figuring out how they can upload documents to the application without wasting their time. In case you want to check out the process before downloading the app; here are a few points that will highlight the entire system.
- Download the DigiLocker mobile application from the Play Store. It is supported by all mobile devices including Android and IOS.
- Log in to the application with a secure password and email ID, so that no one else can have access whatsoever.
- On the main screen of the application, you will find an option to upload documents. Click on the link to move to the next step.
- Once done you will receive a notification stating that you can upload documents from your device itself. Select this option and wait for the next screen to open.
- Now you will be able to view the gallery of your mobile device. Select the document that you want to upload and click on open.
- The upload process will begin instantly, and you will be able to see its progress percentage on the screen.
- Once the upload is complete, you will be able to see the document in the file section.
The Bottom Line
DigiLocker not only saves you from regular Aadhar download by name. But, also gives you the opportunity of sorting your documents systematically.
You can do it by selecting the upload document type option from the main screen. You can rename all the folders so that the layout is well organized.